Quickstart
In this tutorial we will cover a few basics to help you get started with the plugin.
- How to open the explorer view
- How to change views
- How to open a file from a view
- How to filter by favorites
- How to filter by a custom filter group
Installation
If you haven't done so already, please install the Vault Explorer plugin from the Obsidian plugin store.
Open the explorer view
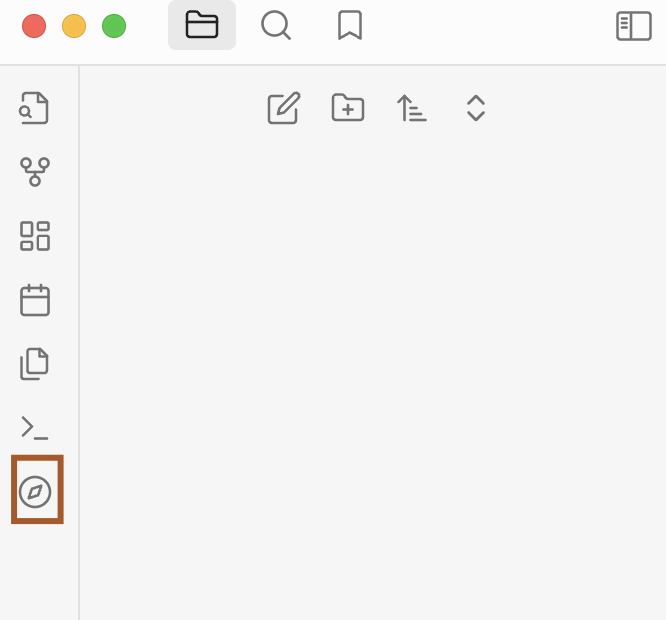
Start by opening the explorer view by clicking on the compass button in the left sidebar.
You may also run Open vault explorer view from the command palette.

Change views
Views are different visual formats for displaying your vault files. When you first open the explorer view, the grid view is active.
Let's change to another view. Change to the list view by clicking the list tab.
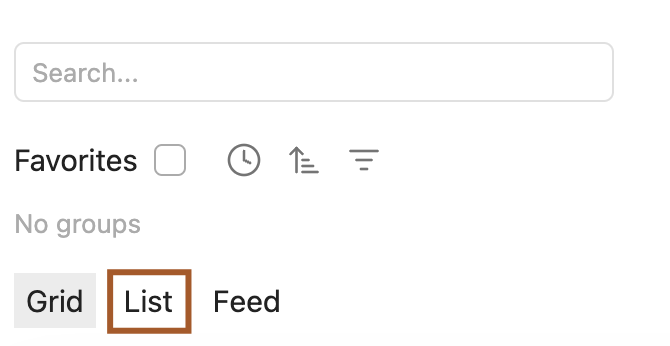
In the list view, you will notice that files are displayed differently. For each file, only a file name and a list of tags is displayed.

Open a file
Now let's open one of the files that appears in this view. Move your mouse and highlight one of the view rows. Then left click on it to open it.

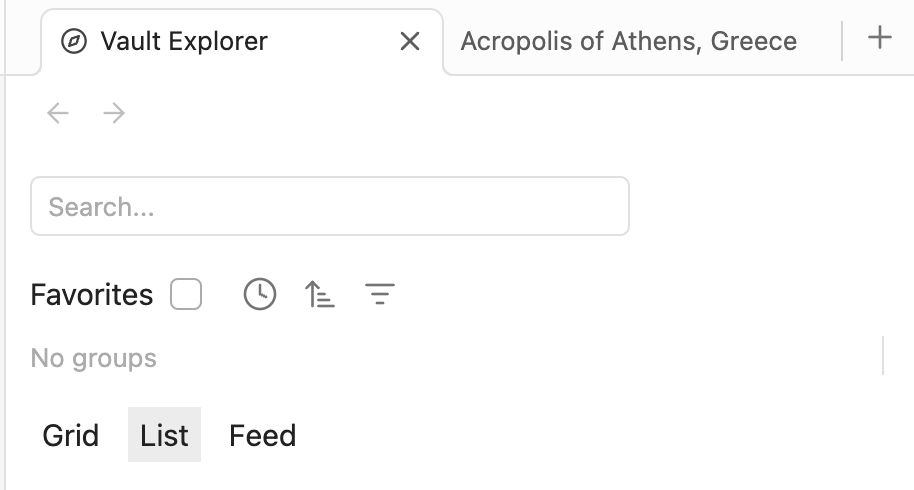
Notice how the active tab changes to the tab that was just opened.

Let's open a new tab without navigating to it. Highlight the row and right click it. Click Open in new tab.

Filter by favorites
When you open the explorer view after installation, no filters are active. Let's enable the favorite filter to filter by favorites.
Start by opening the plugin settings by clicking the gear icon in the upper right corner.

Scroll down to the Built-in Properties section

Find the Favorite property setting
Click the dropdown and change the value from Select a property to the property that you want to use

If no properties are listed, please add a checkbox property to one of your notes. This property will then appear in the dropdown list.
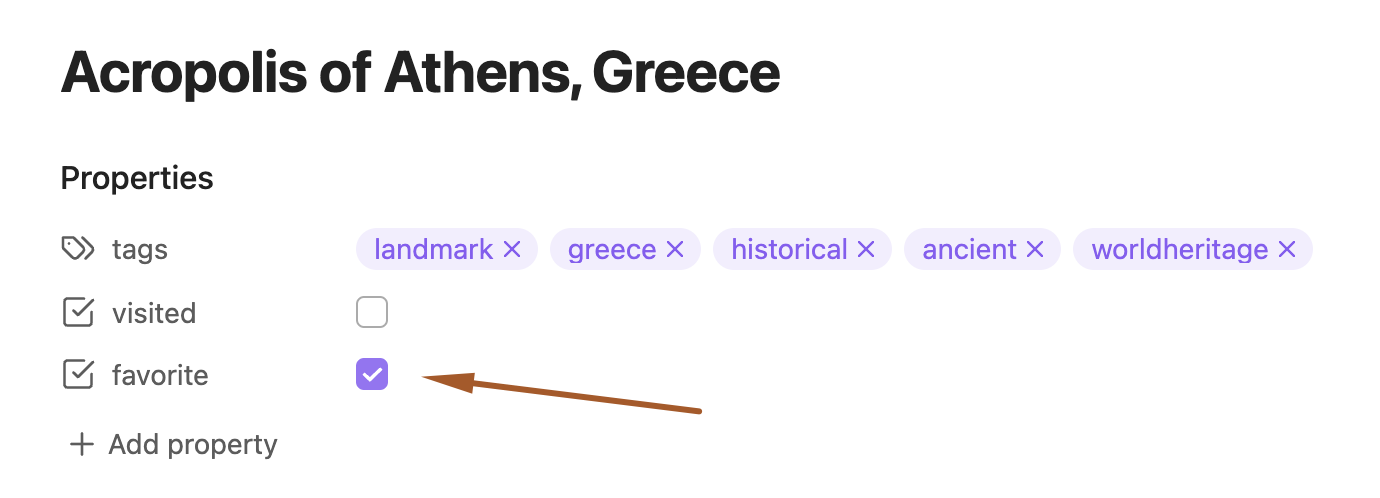
Now go to back to the explorer view, and click the favorites checkbox. The view will only display files that have the selected favorite property with a value of true.

Add a custom filter group
Now let's create a custom filter group. Using the custom filter we can filter by frontmatter properties or file data.
Start by creating a new note. Add a tags property with a test tag.
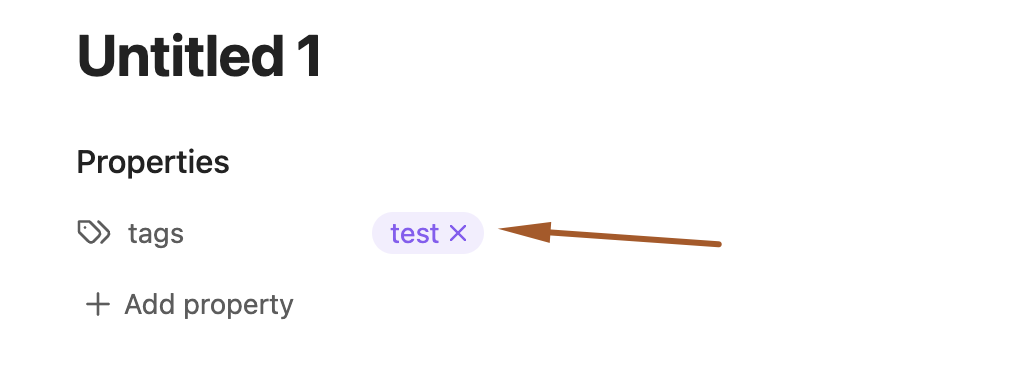
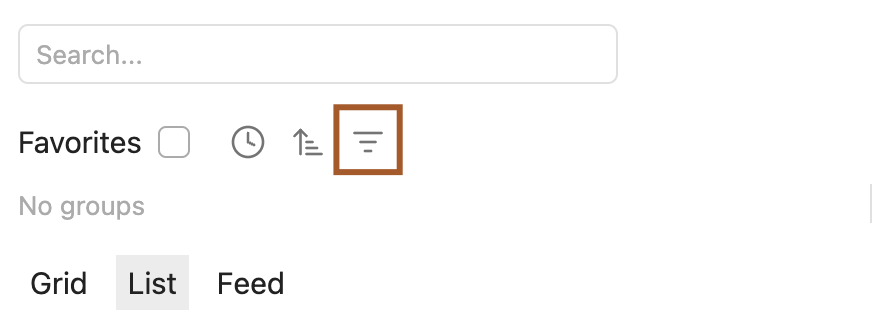
Now go back to the explorer view. Open the custom filter by clicking on the filter button.
Now click the add filter group button.
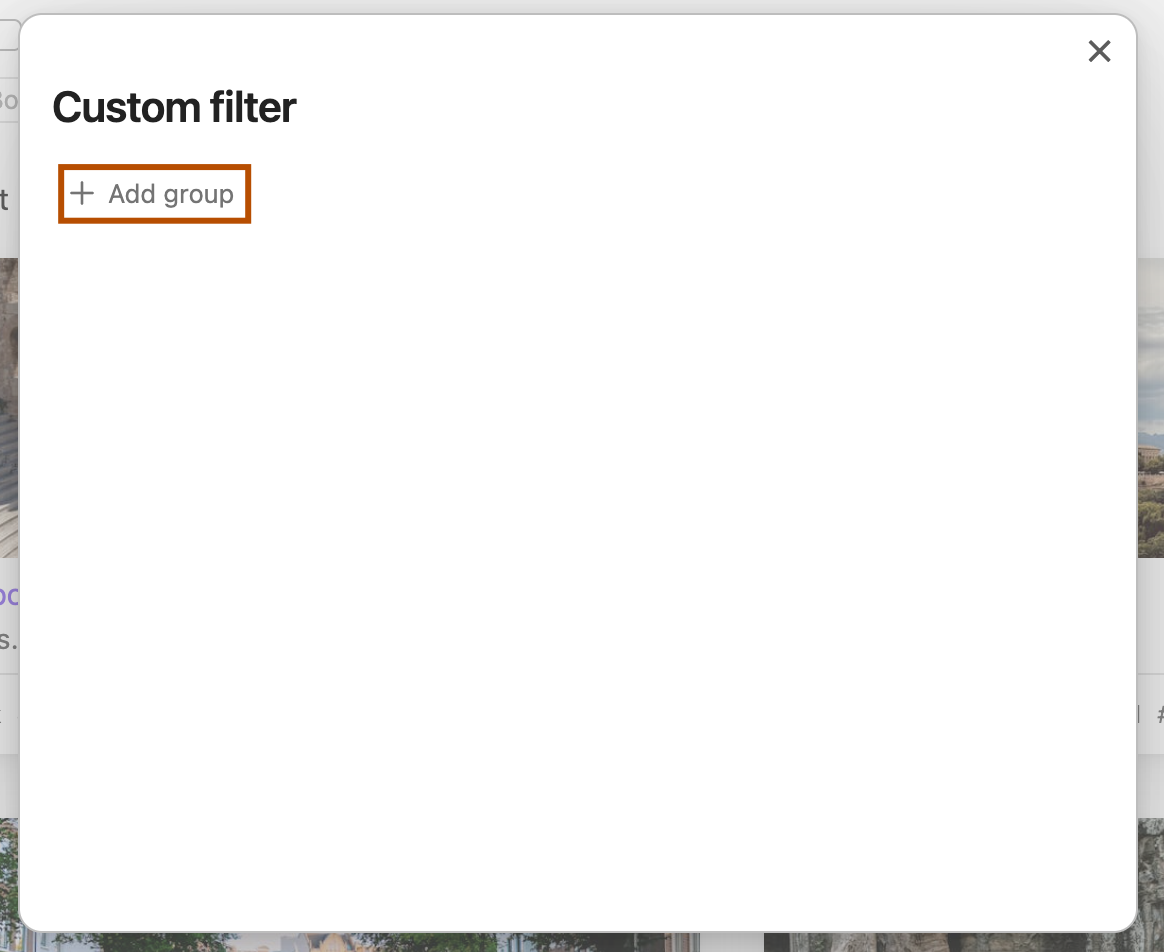
You will see that a filter rule was added when the filter group was added. Let's configure this rule.
Click the property type dropdown. Change it from text to list
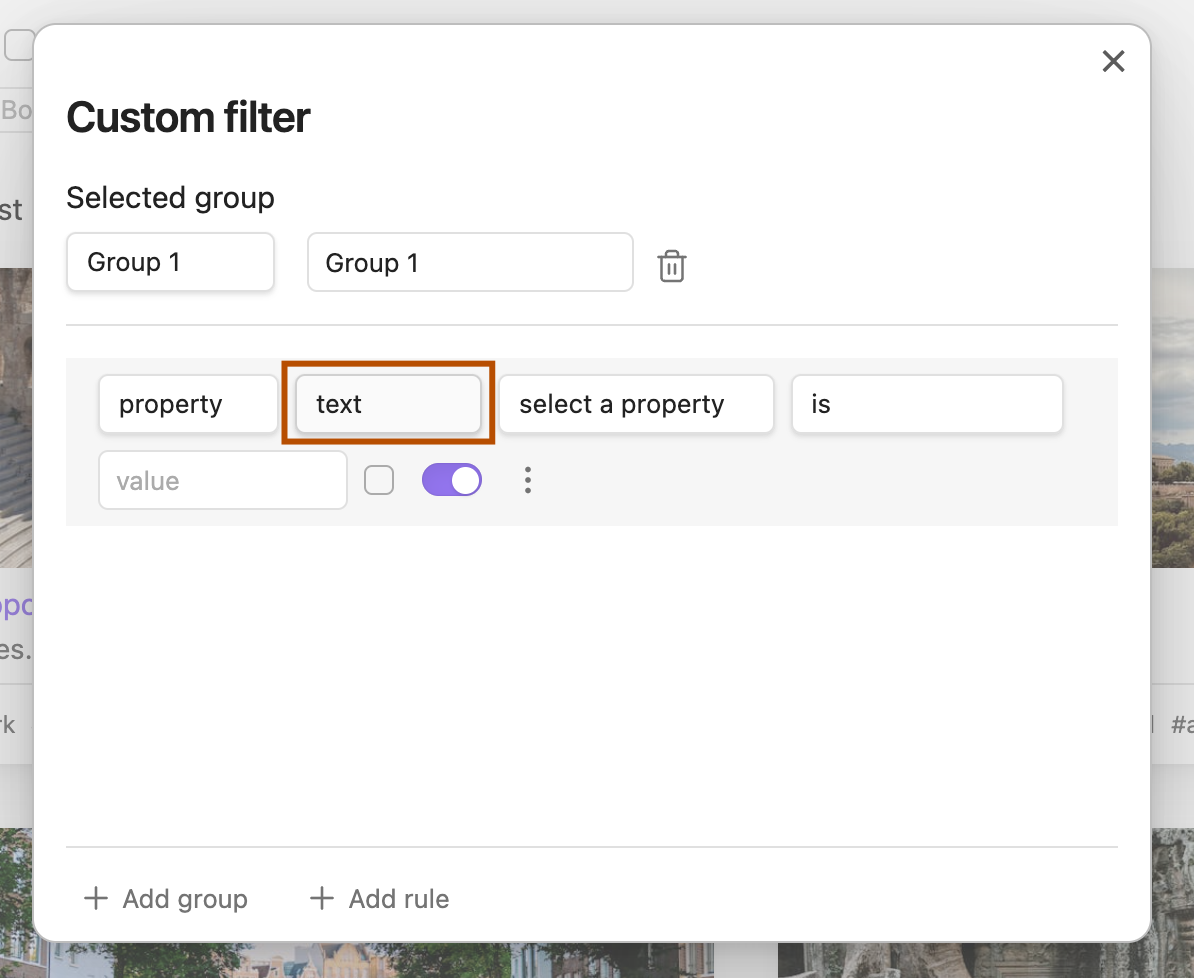
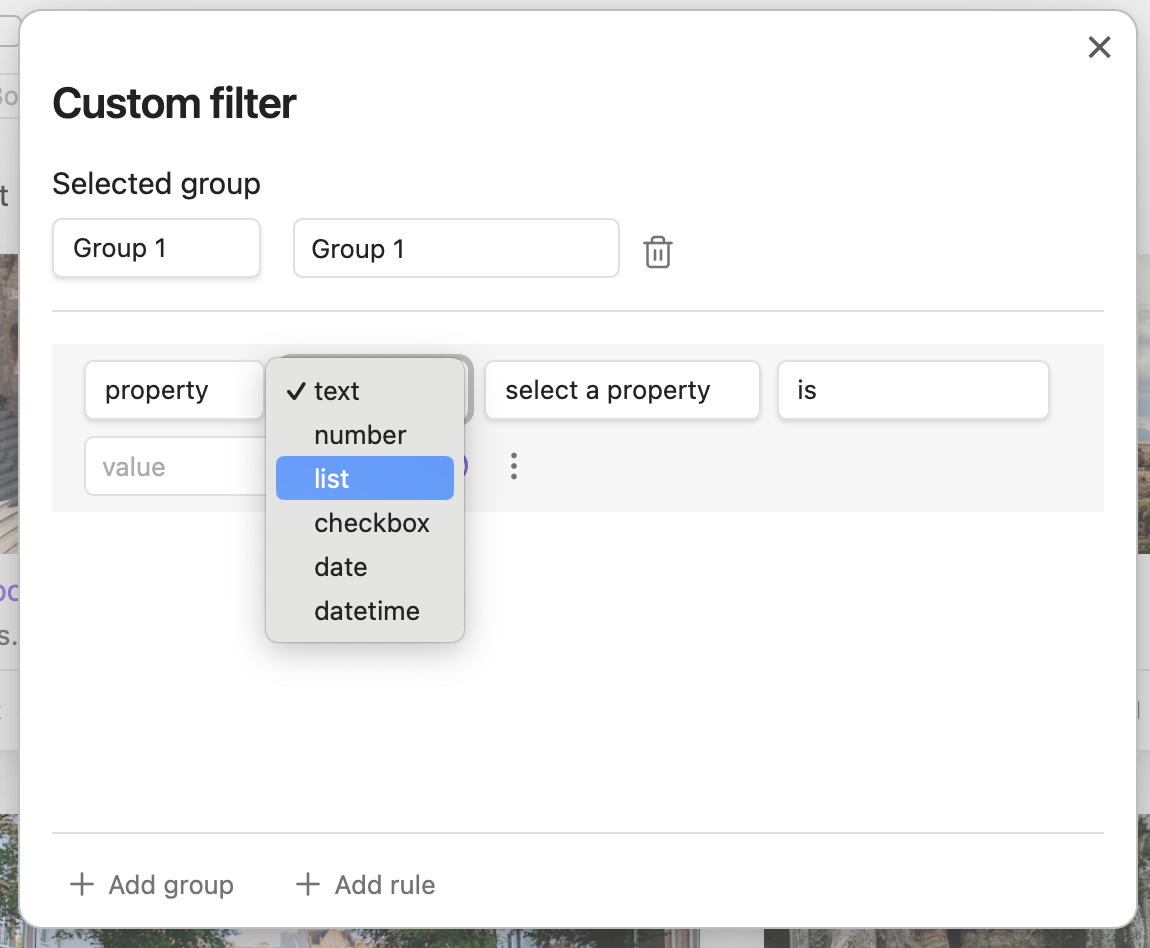
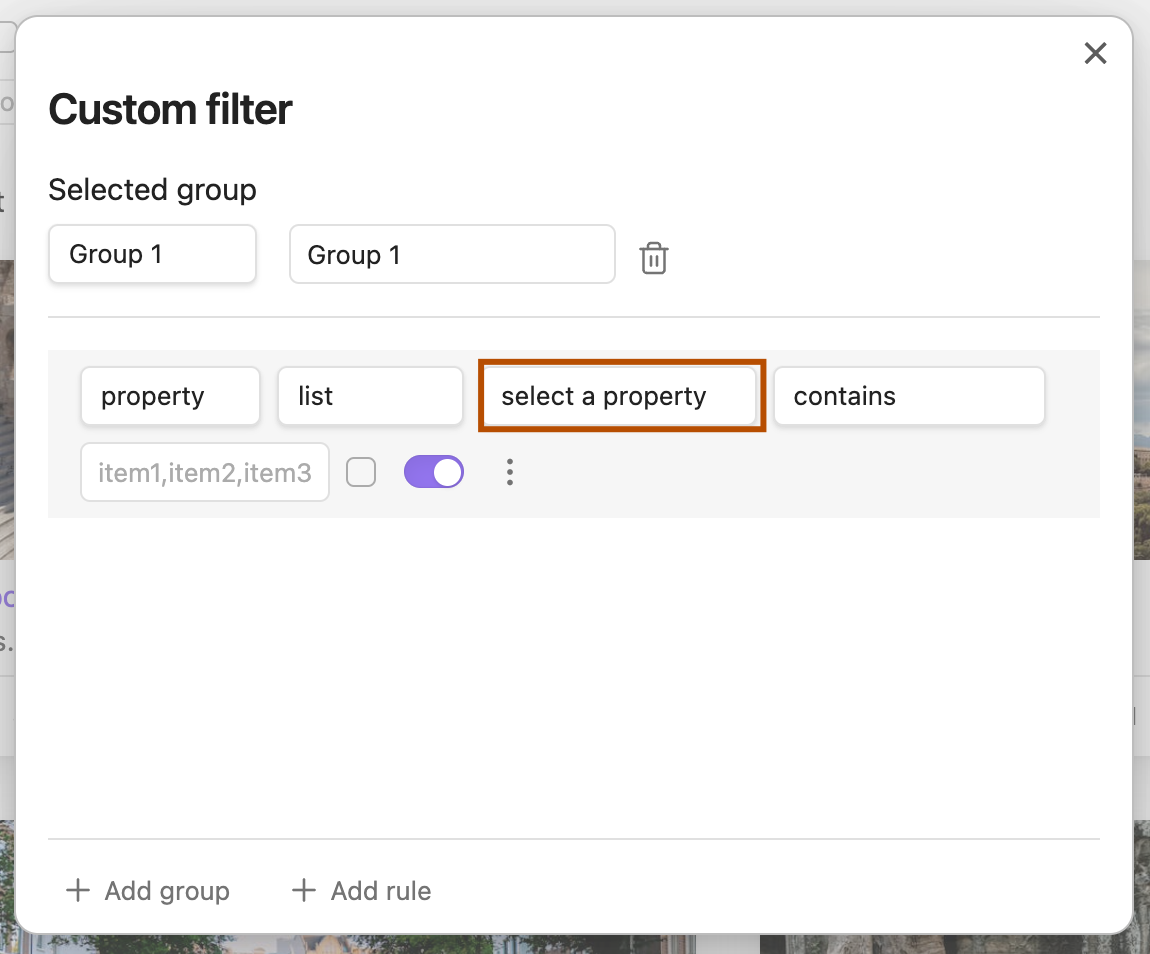
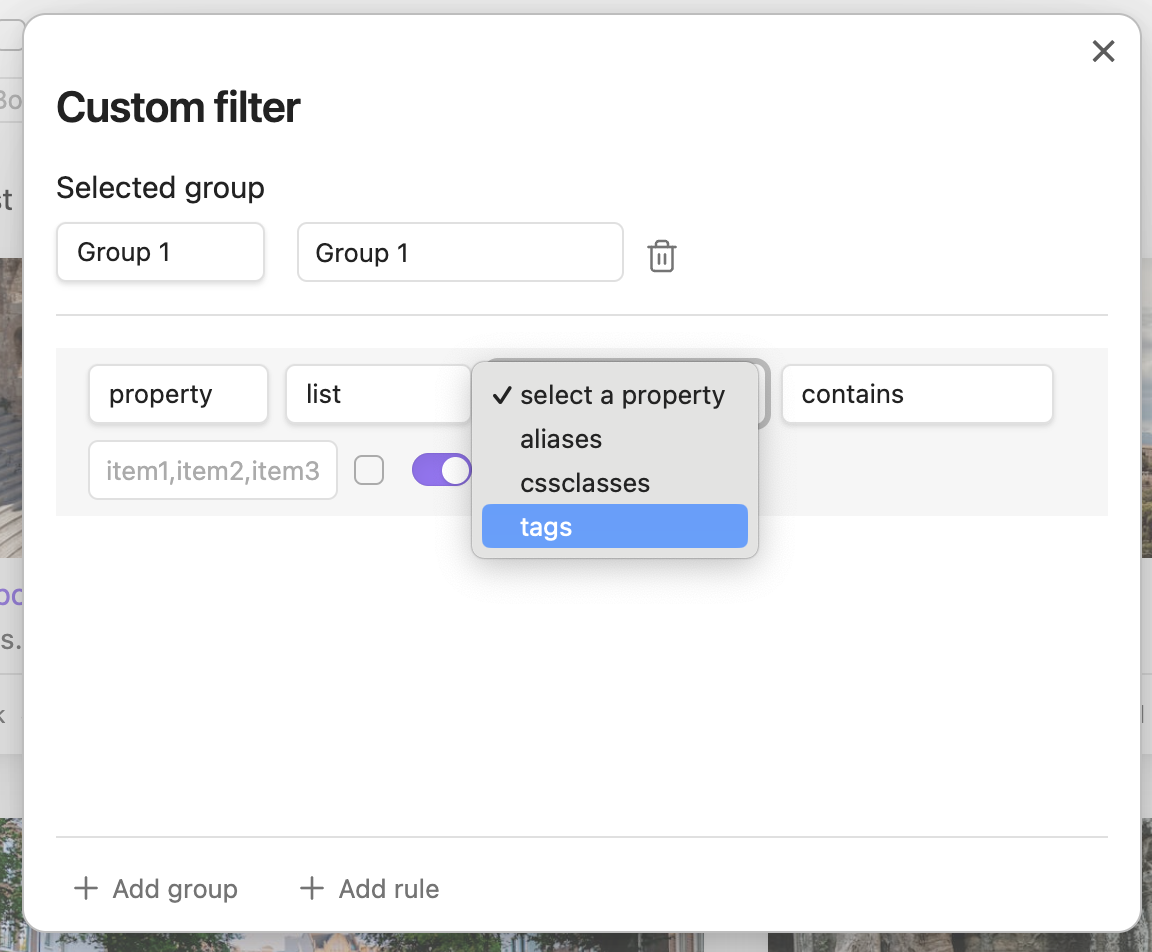
Then, click the property name dropdown. Change it from select a property to tags
Enter test into the input field. Although this is a tag, you don't include a hash mark #.
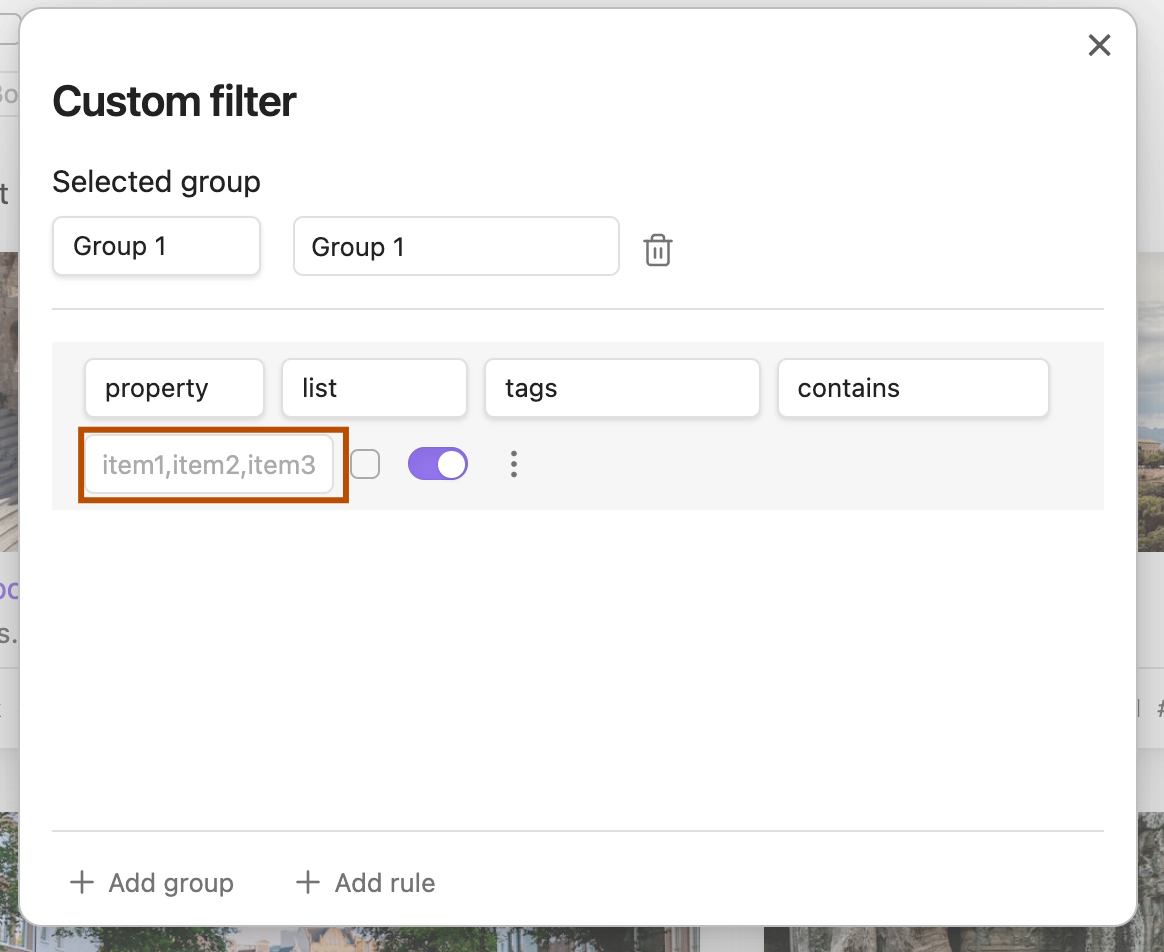
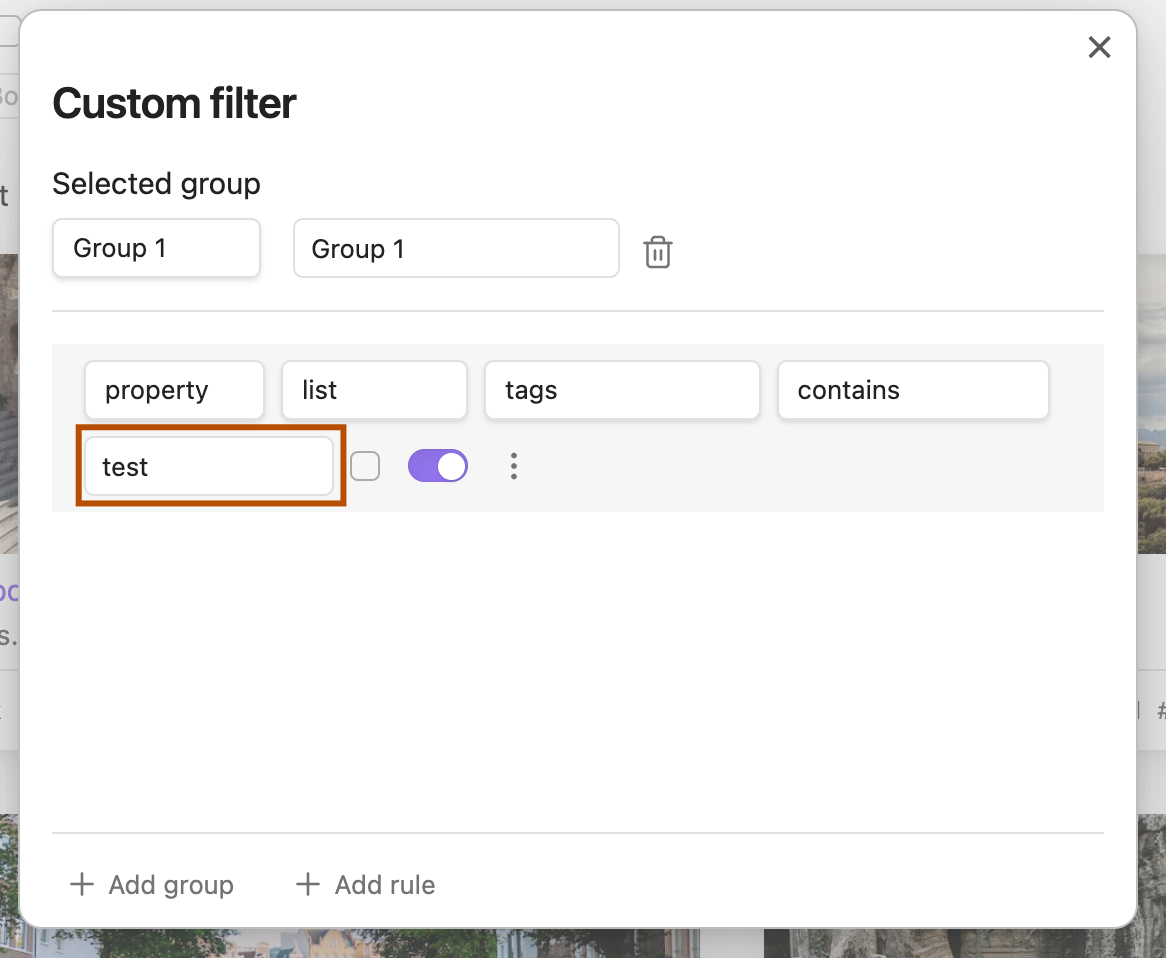
Finally, click outside of the modal.
Click the filter group to enable it. With the filter group enabled, only have files that have a tags property containing a test with be displayed.

Congratulations
Congratulations! You have just learned the basics of using the Vault Explorer plugin.
What's next?
- Learn about the grid view
- Learn about filter rule types